


 S
SRight now the entire store is on sale just for you and your holiday shopping.
For Christmas delivery:
US Orders for Christmas Delivery, First Class Mail - order by 12/16
US Orders for Christmas Delivery, USPS PRIORITY Mail - order by 12/19
International Orders for Christmas Delivery - order by 12/4


Happy Thanksgiving, everyone. Wishing you a peaceful day with family, friends, and good food and cheer.
Our Black Friday sale has begun, a day early. Save 20% storewide at Because I'm Me through Monday.
Blessings to you and yours,

Welcome to August, dear friends.
To celebrate a new month Because I'm Me is having a weeklong sale.
Save 25% storewide in our shop with coupon code BEC25. All men's ties, boy's ties, pocket squares, suspenders, and vests and included in this awesome sale.
Hurry for best selection, supplies are limited on many of our most popular tie prints.

Good morning.
I hope you had a wonderful Thanksgiving with family and friends. And if you braved the sales yesterday or this morning I hope you got everything on your list.
Enjoy 25% savings storewide at Because I'm Me through December 3rd with coupon code BEC25.

Save, save, save! Black Friday and Cyber Monday Sale going on now at Because I'm Me. Enjoy 25% savings storewide with coupon code BEC25 at becauseimme.etsy.com.
Happy Thanksgiving week.
One day my oldest daughter turned 21. I have no idea how that's possible, being as I'm just so very young myself, but it happened. To celebrate this monumental occasion we visited Olive Garden with the whole family and Cassie had her very first ever alcoholic beverage (b.s., but I like to tell myself these things, so indulge me). The ladies at the table ordered Italian Margaritas, an Olive Garden specialty.

Well, it was a very good margarita. And I still can't believe she's 21.
So good that I decided to make a few at home. Italian Margaritas call for Amaretto, which was fine until I priced it at the liquor store. $25ish just wasn't in the budget.

The maker in me decided I had to be able to make it myself, so I did. It's really quite simple, actually.

I followed this recipe and had very easily homemade amaretto in under an hour. However, it wasn't very good after an hour. It took another week or so to sit and allow the flavors to blend and settle, and is now very, very good.
The cost savings were ridiculous and well worth the minimal DIY effort.

Feeling awfully proud of myself and amazed that these things could actually be home made, I decided I could also make Triple Sec, another margarita staple. Because, why not? For the triple sec I followed this recipe. I found a lot of recipes for triple sec, each of which was very different. This one came out very nicely, a little less orange flavor than I'd like and a little more clove-y than I'd like, but good overall.
What's next? Homemade sour mix, of course, which required gathering two cups each of fresh lime and lemon juice. The sour mix was good, but not good enough to spend all that time juicing fruit. Sour Mix isn't very expensive, so I'll stick to store bought, thank you very much.
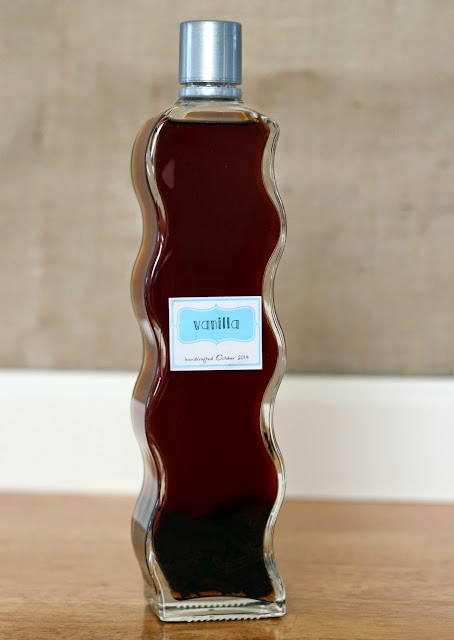
A few days later, still feeling great about my new found skills and all the money I saved I decided to make vanilla. I purchased beans here, though I'm sure you could purchase them elsewhere just as well and I really have no justification for buying the ones I did other than that they were a good deal. Some recipes call for slicing the beans, some say just chop them and the end result will be the same. I went for chopping and added 13 chopped beans, in about 1/2" pieces, to about 20 oz. of inexpensive vodka. Each day for 30 days the bottle is shaken and then, voila, vanilla is made.
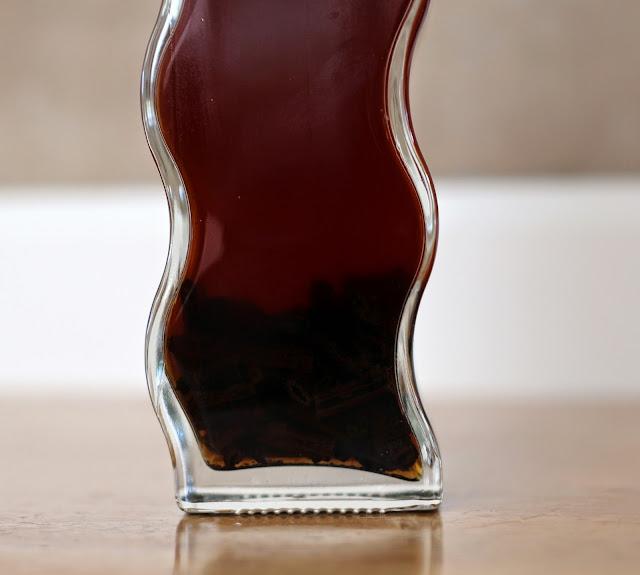
My plan is to only take what I need from the bottle, straining it into a tiny bottle. As the original vodka/bean mix is depleted I'll add more beans but instead of vodka I'm going to use a bourbon for the base instead. I think the flavor will be much richer and smoother.
I now had these awesome mixes sitting in square Ziploc containers, which were impossible to pour from and were kind of bulky. The kids and I headed out to Target to see what they had in pretty glass closable bottles. We did find some beautiful ones but they ran about $6 each, which was more than I was willing to spend. I remembered the infused vinegars I'd given as gifts a few years ago, packaged in Perrier bottles, so we headed over to the beverages section. The Perrier is now sold in plastic so we searched until we found some Rose's Cocktail Infusions on clearance. Pretty cool wavy glass bottles for between $2 and $3 each. Perfect solution, especially with the nice, narrow mouth for easy pouring.
I purchased sparkling cider for the kids to mix the flavorings into and we came home and drank them out of fancy plastic champagne glasses left over from New Year's Eve.
After the bottles were emptied the labels pealed right off. I removed the remaining glue by spraying Goof Off and wiping it off. Super simple. After a good washing the bottles were ready for use.

In the meantime I took some pictures of River, because that's always fun.

I created the labels in PicMonkey, creating a wordless template at the same time so I can go back in and add different lettering to the labels as I fill more bottles (I have many more). The labels were printed on mailing labels from Because I'm Me and applied to the bottles.

That's all there was to the project.
I've also been making homemade tortillas, both flour and corn. Word of warning on that one: Don't do it. Once you do your family won't ever want to go back to store bought and they'll ask for homemade tortillas all the time. Thankfully, they're so simple most all the kids are quite adept at making them.
Have you made your own liquors or vanilla? Please share your story!


Well, it was a very good margarita. And I still can't believe she's 21.
So good that I decided to make a few at home. Italian Margaritas call for Amaretto, which was fine until I priced it at the liquor store. $25ish just wasn't in the budget.

The maker in me decided I had to be able to make it myself, so I did. It's really quite simple, actually.

I followed this recipe and had very easily homemade amaretto in under an hour. However, it wasn't very good after an hour. It took another week or so to sit and allow the flavors to blend and settle, and is now very, very good.
The cost savings were ridiculous and well worth the minimal DIY effort.

Feeling awfully proud of myself and amazed that these things could actually be home made, I decided I could also make Triple Sec, another margarita staple. Because, why not? For the triple sec I followed this recipe. I found a lot of recipes for triple sec, each of which was very different. This one came out very nicely, a little less orange flavor than I'd like and a little more clove-y than I'd like, but good overall.
What's next? Homemade sour mix, of course, which required gathering two cups each of fresh lime and lemon juice. The sour mix was good, but not good enough to spend all that time juicing fruit. Sour Mix isn't very expensive, so I'll stick to store bought, thank you very much.

A few days later, still feeling great about my new found skills and all the money I saved I decided to make vanilla. I purchased beans here, though I'm sure you could purchase them elsewhere just as well and I really have no justification for buying the ones I did other than that they were a good deal. Some recipes call for slicing the beans, some say just chop them and the end result will be the same. I went for chopping and added 13 chopped beans, in about 1/2" pieces, to about 20 oz. of inexpensive vodka. Each day for 30 days the bottle is shaken and then, voila, vanilla is made.

My plan is to only take what I need from the bottle, straining it into a tiny bottle. As the original vodka/bean mix is depleted I'll add more beans but instead of vodka I'm going to use a bourbon for the base instead. I think the flavor will be much richer and smoother.
I now had these awesome mixes sitting in square Ziploc containers, which were impossible to pour from and were kind of bulky. The kids and I headed out to Target to see what they had in pretty glass closable bottles. We did find some beautiful ones but they ran about $6 each, which was more than I was willing to spend. I remembered the infused vinegars I'd given as gifts a few years ago, packaged in Perrier bottles, so we headed over to the beverages section. The Perrier is now sold in plastic so we searched until we found some Rose's Cocktail Infusions on clearance. Pretty cool wavy glass bottles for between $2 and $3 each. Perfect solution, especially with the nice, narrow mouth for easy pouring.
I purchased sparkling cider for the kids to mix the flavorings into and we came home and drank them out of fancy plastic champagne glasses left over from New Year's Eve.
After the bottles were emptied the labels pealed right off. I removed the remaining glue by spraying Goof Off and wiping it off. Super simple. After a good washing the bottles were ready for use.

In the meantime I took some pictures of River, because that's always fun.

I created the labels in PicMonkey, creating a wordless template at the same time so I can go back in and add different lettering to the labels as I fill more bottles (I have many more). The labels were printed on mailing labels from Because I'm Me and applied to the bottles.

That's all there was to the project.
I've also been making homemade tortillas, both flour and corn. Word of warning on that one: Don't do it. Once you do your family won't ever want to go back to store bought and they'll ask for homemade tortillas all the time. Thankfully, they're so simple most all the kids are quite adept at making them.
Have you made your own liquors or vanilla? Please share your story!


I wrote about our awesome visit to Busch Gardens in June, and when I saw this deal I had to share because it's pretty darn good. If you go for a day TODAY all your future visits through 2015 will be free.
We've done the annual passes before and they were well worth it, even if you just stop in when you have a few hours to kill a couple times a year it's worth it.
"From world-class rollercoasters and Broadway-style entertainment to one-of-a-kind, up-close animal encounters, Busch Gardens® Tampa continues to deliver some of the biggest thrills found anywhere! In 2015, Busch Gardens is taking those thrills and experiences to new levels with brand new events and exciting entertainment.
You can see it all with a 2015 Fun Card, which lets you Pay for a Day, and get now through 2015 FREE! It’s the best value for again-and-again access to all of the amazing thrills Busch Gardens has to offer. Plus, if you buy your 2015 Fun Card now, you can enjoy visiting Busch Gardens for the remainder of 2014 for no additional cost, including Christmas Town™!"

Summer love with a storewide sale, save 25% on all ties, quilts, and accessories with coupon code BEC25 through this Sunday.
http://www.becauseimme.etsy.com
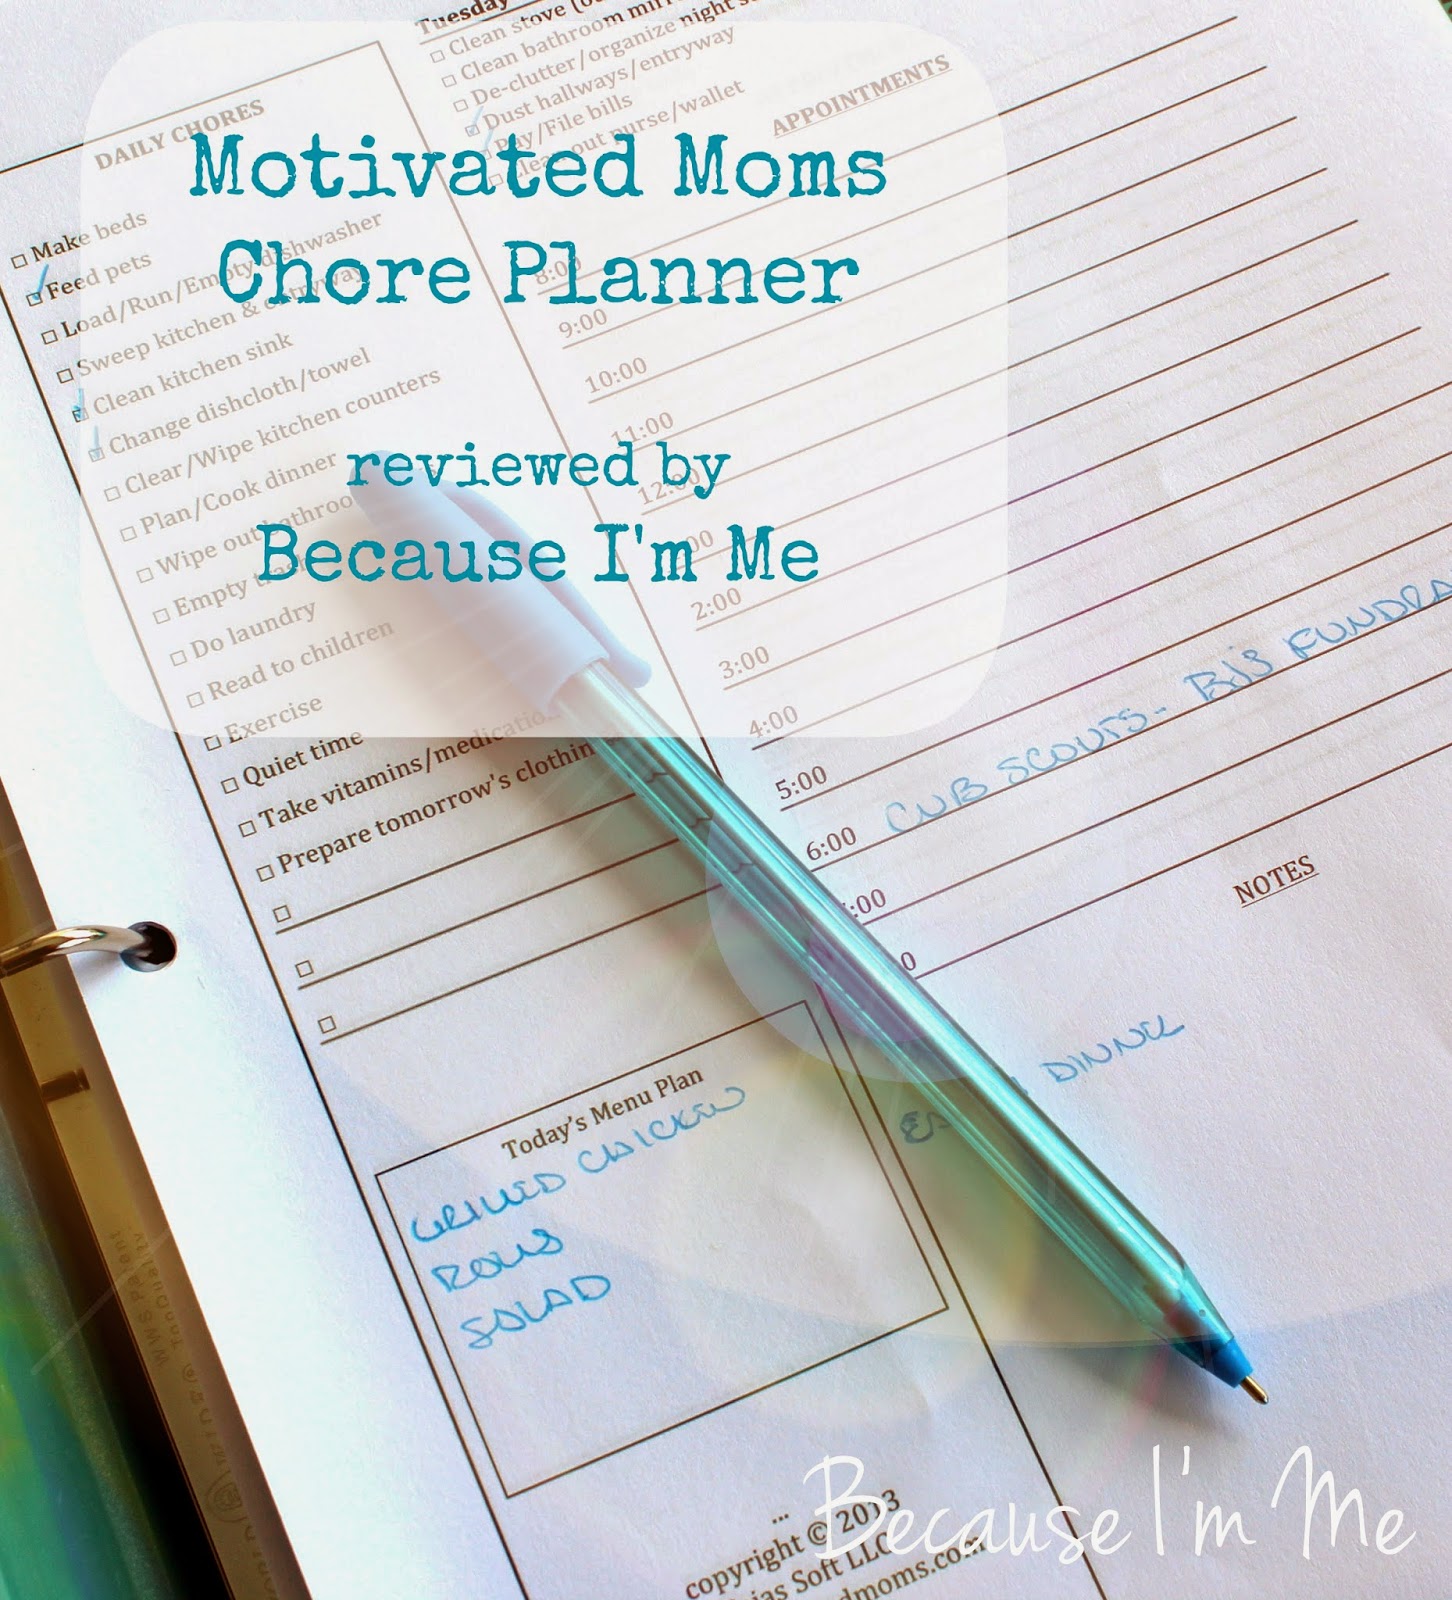
I'm positive I'm not alone in my desire to be better organized; to have the day go more smoothly, the house be easier to keep up with and less chaotic, and to know what the heck I'm supposed to be doing each day. I'm positive of this because it's a subject my girl friends and I discuss often, but never really find a solution to (you organized Moms out there ... how do you do it?).

Motivated Moms offers many options for chore planners - downloadable, printable full and half page planners or chore charts, both with and without bible reading in color or black and white, and iphone/ipad apps. I chose to use an e-book full-page yearly page-per-day chore planner.

The pages in my Motivated Moms Page Per Day Chore Planner include three areas:
- First, on the left hand side of the daily page is a daily chores list, complete with check boxes to mark checked items off, and a daily menu plan box. Items on the daily chore list include making beds, cleaning the kitchen sink, do laundry, exercise, and take vitamins/medications. This list remains the same each day.
- Second, at the top right/center of each page is a daily cleaning and organizing list - a few items that aren't repeated every day. Clean oven, clean dishwasher door, sweep porch, clean vent hose on dryer, de-clutter night stands, clean bottom shelf of refrigerator, and clean out purse/wallet are a few of the items found in this section.
- Lastly, below the daily cleaning tasks is an hourly schedule of appointments, to be filled in by the user.

Two things really attracted me to this chore planner: the fact that exercise is listed in the daily chores list (I know I love crossing things off my to-do list, and am more motivated to do something if it's on my list), and the rotating cleaning tasks, a great way to keep the house tidy and running smoothly without doing everything single little minute cleaning task all in one exhausting day (plus, some things like "clean toaster" would probably get done far less often than they should if they weren't on this handy list).
To begin, I quickly downloaded the chore planner and printed a few months worth of pages. At one page per day I'd have used a lot of paper to print the whole year, so I opted to start with a few months, knowing I'd print more pages before too long.
I opted to punch holes in the pages and stuck them in a three ring binder. If I'd printed the whole year I'd have taken it to an office supply store and had it spiral bound. Note: Lefties, you could easily print this out and put the holes on the other side of the page, making it much easier to check things off and write on the pages. Doing this didn't cross my mind until I'd already put the pages in a binder.
So, is my house super clean and am I more organized? Sort of. I didn't follow the planner every day and had some trouble sticking to it, but the days I did do it I was quite pleased with it. I love the concept of dividing cleaning tasks into short little bits to do each day. Sadly, I was not more motivated to exercise every day (darn it!).
I think, for me, I might have used the chore planner more if I didn't have so many different planners/apps/organizers going at once. If I'd merged this chore planner with planners for blogging, selling, home schooling, scouting, healthy eating and weight loss, etc. I'd have had everything I needed to do right in front of me at the same time. That said, I was motivated by this chore planner review to create a planner that combines most of those areas (also in a 3-ring binder). I am going to integrate the pages from this Motivated Moms weekly chore planner into the other planner and I think that'll be the ticket to success. I do know I don't want to not use the chore planner, breaking household cleaning down into little bits is wonderful, and feels so much less like work.
Check out the Motivated Moms weekly full-page chore planner and all the other great planner options here, and the portable device apps are found here. The Motivated Moms Page Per Day Chore Planner is available for just $8, and the planners are geared towards all Moms (and anyone with living space to clean and organize).


I have such a love for Craig's List. I browse there the way some people browse Target or the mall. I don't often buy anything (except, perhaps, a camper and a boat) but I love to look. It started when I was searching for a camper and scoured the RV section daily, now it's just kind of looking for anything that suits my fancy.
Last week the browse was for patio furniture. Actually, I started looking for a bench and somehow ended up looking at tables and chairs. One listing caught my eye - a five piece outdoor set, in green, for $20. So I bought it, without taking a really good look at it. $20 was unbeatable.
After getting the set home I realized a few things - the table and chairs are much too big for my small lanai, someone had used the chairs to rest boards on when they were painted and there were paint stripes on the chair arms, the legs were rusting and uneven where the rust had completely eaten the aluminum, and the chairs couldn't be used without pads as they were too low and too deep.


No big deal - I quickly decided to repaint the entire set and sell it on Craig's List.
I began by cleaning the chairs and sanding the arms with an electric sander. I used the same black spray paint the boys used for the bench ends and painted the chairs. After they dried I flipped them over and painted the sides I couldn't see/reach earlier. It took two days to paint the chairs but most of that was dry time, actual painting time was about 20 minutes per chair, max.
 |
| When I say "I painted the furniture" I might mean "me and some guys who didn't want to do schoolwork painted the furniture" |
After the chairs were finished and completely dry I turned them on their sides, measured the lengths of the legs and evened them out with a jigsaw.
I took the table apart and painted each of the three (previously) green pieces with the black spray paint.
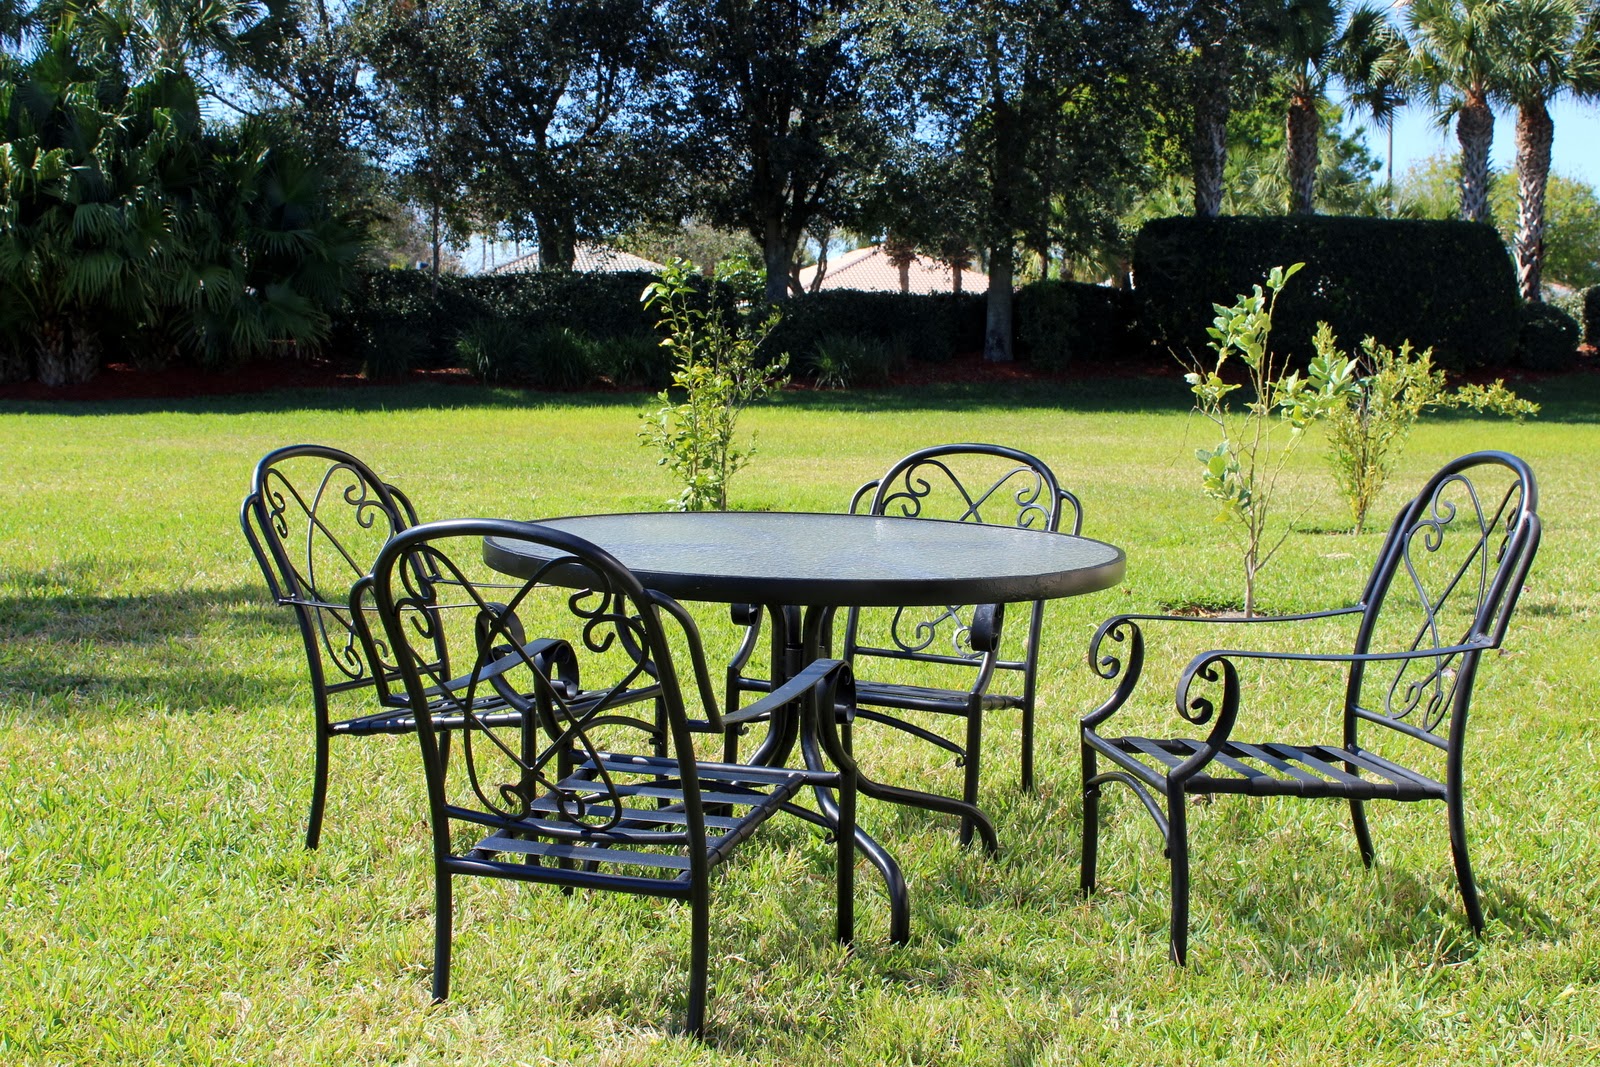
The plexiglass top got a good cleaning up, and the table was reassembled.

I priced cushions everywhere I could think of and even considered making my own but for what I needed I'd be spending a minimum of $80, which just wouldn't be recouped in the sale of the set so I decided to skip the cushions. The new owner can then purchase cushions of their choosing.

I was able to use the set during a party last week. No one ate at the table, it became the pizza table, but the chairs were perfect for sitting around the fire that evening.

The set is now relisted on Craig's List and, hopefully, will find a home with a new owner soon. Right now it's in my back yard, and the longer it sits there the more tempted I am to drill a hole in the center of the table, insert a huge umbrella, and keep the set.
Total cost: furniture - $20, paint - $17.
Off subject, but we have bananas in the backyard! Last year we got a few, maybe six, and this year we've got quite the bumper crop!
