
Mama Made Shorts Pocket Tutorial and Pattern

*** This pocket goes with the wonderful free shorts pattern and tutorial that can be found at Growing Home. You'll need the shorts pattern and most of her tutorial to make this pair of shorts with cargo pockets, as my focus here is just on the pocket and the french seams. Head over and print the pattern and then come on back for the pocket.
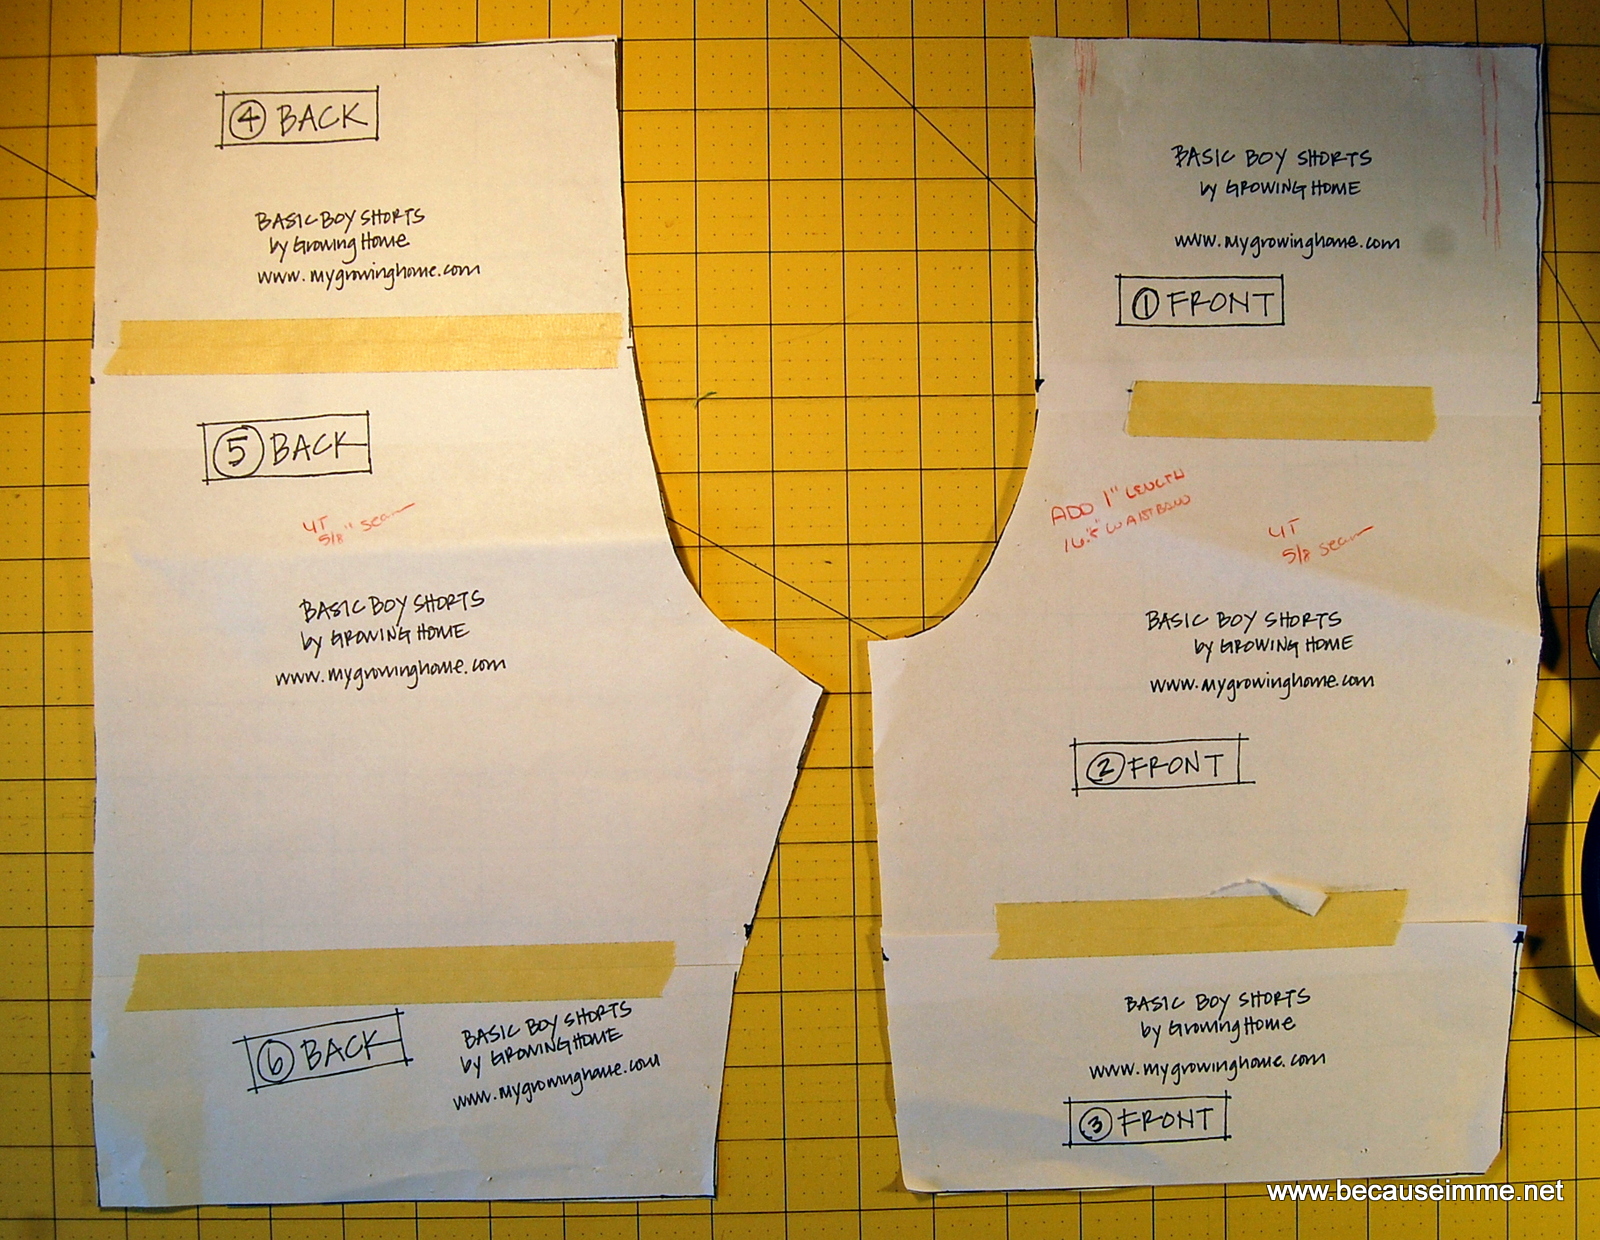
Put your original pattern pieces together and tape in place. I found that making sure the front and back inseam were the same, then making sure the total length was the same for both front and back worked perfectly.
When I print and cut out pattern pieces I mark them with the size and the seam allowance the pattern calls for. If the pattern came from a website I'll write that down too, if it's not already printed on the piece. The more information the better; by the time I reuse the pattern I won't remember the details, so having them written down can save a lot of searching online.
Cut 2 each of the back and front, and two each of the pocket pattern, cut on the fold. I used an "upcycled" mens shirt for this pair of shorts, cutting my pieces to the shirts front pocket would become a back pocket on my shorts.
Set the back and front body pieces aside to work on the pocket.
Begin by folding the pocket in half. Stitch the rounded side and the bottom edge with 1/4" seams.
*I interfaced these pockets only because the fabric was white and I wanted to make it a little less see-through. I don't think it's a necessity, and didn't with any of the other shorts I made.

Turn and press.

Edge stitch along the rounded pocket edge. I double stitched using a 1/8" seam and a 1/4" seam.

Attach pocket to front pant leg, lining top and straight side (not the rounded crotch side).

Stitch down the front and across the bottom as desired. Again, I used a 1/8" seam and a 1/4" seam.

Set sewing machine for widest stitch possible. Baste across the top. Baste down the side. Baste rounded edge. Basting will make it much easier to keep the pocket nice and flat while sewing and to thread the elastic later. If you're lazy go ahead and do all that basting at once, it'll be just fine, but it might not be as easy to remove the basting along the rounded pocket edge once the shorts are complete.

At this point both pockets are complete and attached.
Let's move on to the french seams, as I learned how to do them. First and foremost, begin by sewing wrong sides (bottom sides of fabric) together, not right sides together. This goes against everything you're taught in sewing and takes paying attention to get it right!
Again: Not right sides together first. My seam ripper and I are good friends.

This pattern allows a 5/8" seam allowance, so there's plenty of allowance to work with.
To begin, with wrong sides together stitch a 1/4" seam.

Stitch off any stray edges, particularly around the pockets. Make sure there are no hanging threads and that you've got a nice smooth seam that is no wider than 1/4". If you end up with straggly threads when your french seam is finished they'll stick out on the front side of your shorts and won't look good.

Open your right sides, laying the shorts front and back flat, and press the newly sewn seam to the left.

Then press it to the right.

Now fold right sides together along the seam you just make and press. Pressing to the left and to the right makes it easy to get this seam right and folded really well, so this should be a very simple step.

Stitch your folded seam, with right sides together, with a 3/8" seam allowance.

Voila. Your french seam is complete. Press your nice pretty seam to the backside of the shorts.

Topstitch as desired. Again, I used a 1/8" seam and a 1/4" seam. Press.

Complete shorts as directed with french seams if you wish, removing basting stitching along the pocket opening after the elastic is inserted.
Be sure to check out Growing Home's other patterns, she's got a great skirt tutorial I can't wait to try.

Please let me know if you have any problem accessing the pattern or have any questions.
 |
| Hi there. These little conchs bury themselves in the sand and wait for the tide to come in. The creatures are alive and well in their conch shell home. |

0 Comment